Custom campaign
Receiving reward by customer may be linked with geolocation or QR code earning rule. Rule to which reward will be assigned is specified in Connect type field.
If customer redeemed reward, and conditions of linked rule will be met, additional points will be assigned to his account.
For example
during reward creation, geolocation earning rule has been assigned, for which (when it is fulfilled) customer can get 10 points.
When during reward redeeming, customer is in specified in geolocation rule location (rule radius, latitude, longitude conditions are met), except reward that he redeemed additional 10 points goes to his Active points pool. If rule conditions are not fulfilled, customer receives only reward (without additional points).
during reward creation, qr code earning rule has been assigned, for which (when it is fulfilled) customer can get 15 points.
When during reward redeeming, customer will scan specified in qr code rule code (e.g. redeeming reward is done by scanning code), except reward that he redeemed additional 15 points goes to his Active points pool. If rule conditions are not fulfilled, customer receives only reward (without additional points).
To create Custom campaign reward:
- Tap Reward campaigns on the Admin sidebar and choose Add reward campaign. You can also add new reward directly from All reward campaigns list by clicking
Add reward campaignat the top of the page
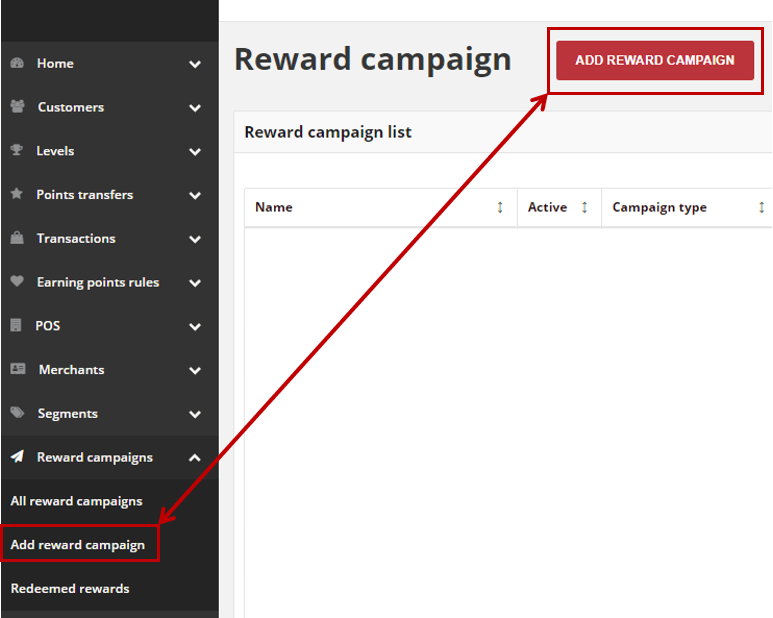
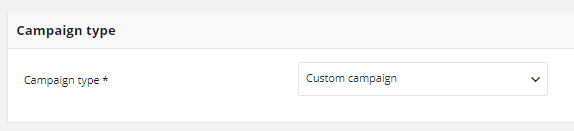
- In the Campaign type section select a Custom campaign reward type from a dropdown list (Discount code is displayed by default)
Note
Depending on the selected Campaign type, Basic information section and the next one, Campaign details, will display different fields to filled in.
Different fields are required for Cashback, Custom reward and Percentage discount code , than for other types i.e. discount code, free delivery etc.

- When you choose Custom campaign, in the Basic information section related to the default language version do the following
- Enter unique reward Name
- If needed, provide a Short description of the reward campaign detail using rich media format
- If applicable, in Condition description field, provide a description of the conditions of getting a reward using rich media format
- If needed, in Brand name field provide the name of the brand, that will be display in Client cockpit
- If needed, provide a Brand description of the reward campaign using rich media format
- If applicable, fulfill the same fields in other language version e.g. polish as on a screen above
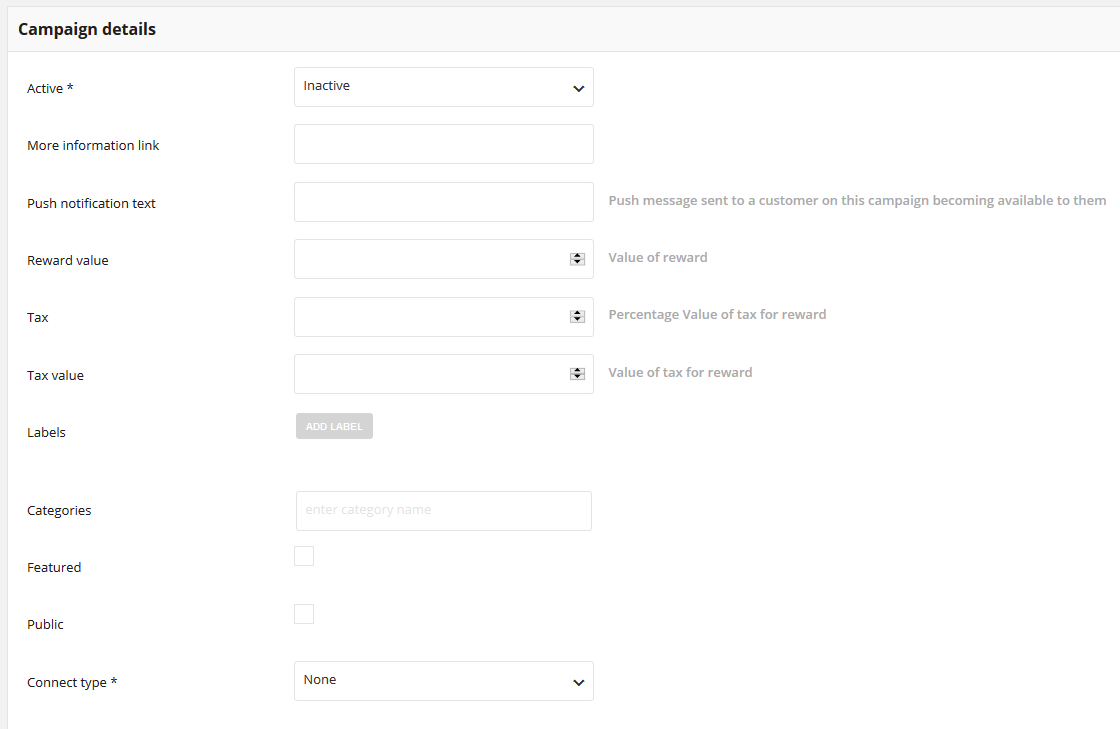
- In the Campaign details section do the following
- To make reward available for customer, in Active field select “Active” from the dropdown list
- If needed, enter URL to the content page in More information link field, that explains your reward campaign or to external web with reward details
- If applicable, in Push notification text provide a text message that will be displayed as a push notification for Customer, when reward becomes available for them
- If applicable, In Reward value field provide a monetary value of reward
- If needed, enter Tax rate that applies to the reward and monetary value of tax for reward in Tax value
- If applicable, mark Featured checkbox to differentiate campaign from the others. Feature is used when you want to filter campaigns using API
- If applicable, mark Public checkbox to differentiate campaign from the others. Feature is used when you want to filter campaigns using API
Note
If Push notification text is not provided, notification about new reward availability will not be displayed.
It does not change the fact that the reward will be available for customer and display in Available rewards section in Admin and Client cockpit.
In the same Campaign details section, if applicable, create Label(s) you want refer to reward. Labels are intended to be used to specify identifying attributes of reward campaign.
Labels can be used only when you use API to organize subsets of rewards and make filtering/searching rewards campaign easier. Through API you will be able to get list of all rewards with specified key or key and value.
- To create Label, tap
Add Labeland do the following:
Type label Key, which is a label name
Type label Value
For example: Key – Event, Value – Birthday.
- Repeat the process for all labels you want to used in your Loyalty Program

Note
Filtering/Searching via API allows you to get list of all rewards related to events or (more specified) related to birthday event.
Note
Labels can be added to reward campaign during reward creation and subsequently added and modified at any time
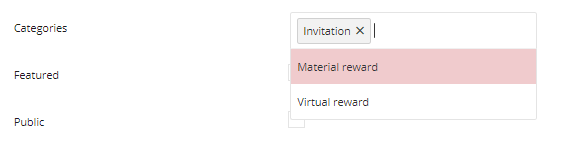
- In the same Campaign details section, in Categories field, select campaign category or categories to be assigned to this reward campaign. You can assign more than one campaign category.
- In the same Campaign details section, in Connect type field, set earning rule type that will be linked with this campaign, to one of the following:
- Geolocation earning rule
Customer could receive points for his location
- QRCode earning rule
Customer could receive points for scanning define QR code
- None
Any earning rule linked
If you choose any other type than None, choose one of the Earning rule from a dropdown (related to the type chosen in previous step)
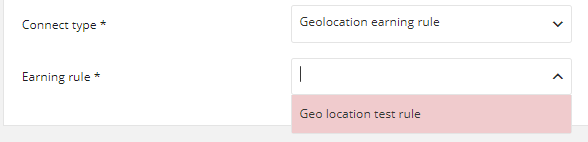
Note
Displaying earning rule names will be related with type chosen in previous step.
For example, if you set Connect type to Geolocation earning rule, only Geolocation earning rules will be listed.
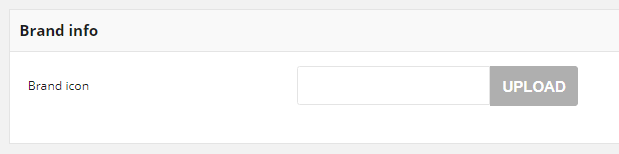
- Brand info section allows to upload an image of the reward brand, that will be displayed in Client cockpit
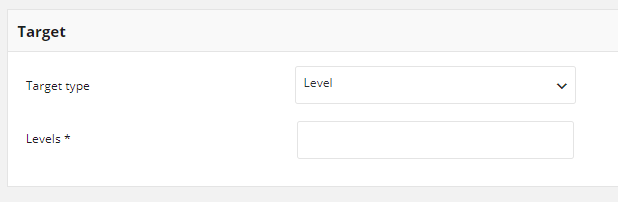
- A reward can be extended to members of a specific customer group. In the Target section identify the customer group that qualifies to receive the reward
- In Target type field, select from dropdown list Level or Segment to specify whether the reward will be available for customers assigned to particular level or segment
- Depending on selected Target type, field Segments to specify segments or Levels to specify levels appear. You can choose one or more levels/segments to used
- To make the reward visible on the storefront for a limited period of time, complete the From and To dates in Visibility section
- In Visible from field set the first date the reward is visible. You can either enter the date or select it from the calendar
- In Visible to field set the last date the reward is visible. You can either enter the date or select it from the calendar
- If you want the reward to be visible all the time mark All time visible checkbox. When you choose that option Visible from and Visible to fields will not be available.
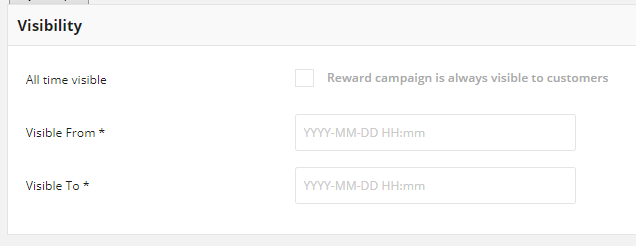
Note
Visible to and Visible from fields are available only when reward visibility is limited
- Activity section defines time boundaries when reward can be used by customers. To make the reward available for a limited period of time, complete the From and To dates in Activity section:
- In Active from field set the first date the reward is available. You can either enter the date or select it from the calendar
- In Active to field set the last date the reward is available. You can either enter the date or select it from the calendar
- If you want the reward to be active all the time mark All time active checkbox. When you choose that option Active from and Active to fields will not be available.
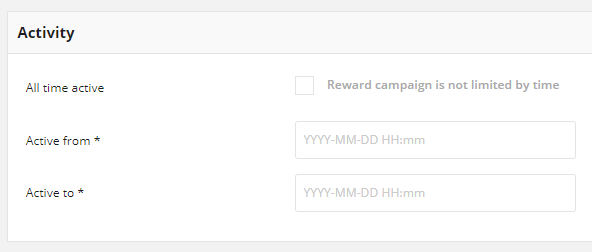
Note
Active to and Active from fields are available only when reward activity (availability) is limited
Note
Status of the Reward campaign (Active/Inactive) has higher priority than time boundaries from Active section.
Even if time boundaries from Activity section will be valid, changing Status to Inactive means that reward will not be available to customers.
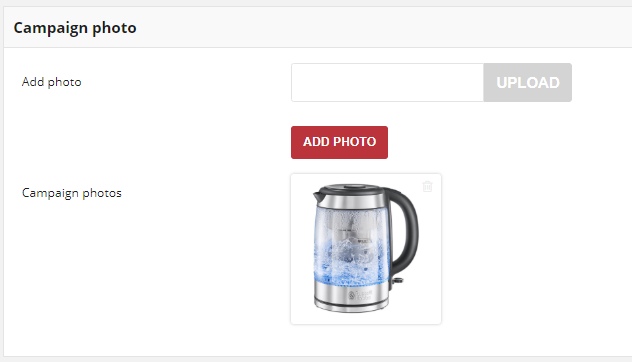
- If applicable, in Campaign photo section upload reward images that will be visible in the storefront
- To add a photo tap
Uploadto import main image- To add more images click
Add photoand then upload another photo. Reapeat it for all photos that you want add.- To remove a photo click remove
icon near by particular field (during creation)
- To remove images after creation click bin
icon in the photo upper right corner (in edit mode)
All added images will be visible in Campaign photos field after save
Note
Image size is limited to 2MB. Image dimensions could not be smaller than 600 x 600 px. Allowed file formats: png, gif, jpg.
- When it is done, tap
SAVE
Warning
Currently Custom campaigns are not visible for a customer in Available rewards section in the Client Cockpit